Three ways to run it
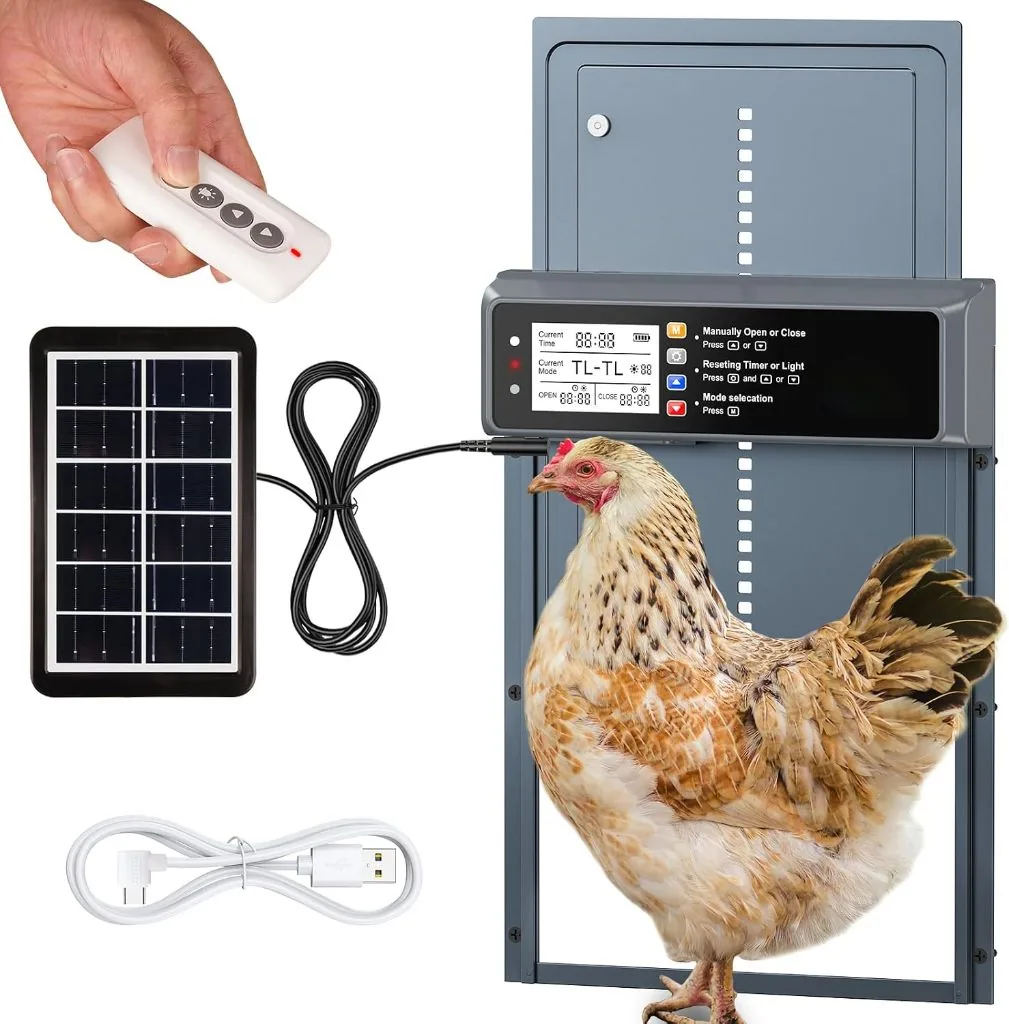
The door slides up and down inside its own frame, driven by a small motor in the control box. A solar panel keeps the battery topped up, so there's nothing to wire to the house.
Light sensor
Opens at first light, closes at dusk. Set it once and it follows the seasons.
Timer
Pick exact open and close times — handy if you want hens in before a late sunset.
Manual
Open or close from the panel or the remote, any time you need to.
About an afternoon, start to finish
- Measure your pop door. You need a clear opening the frame can sit flat around — plan for at least 12" of clear frame height above the door.
- Mount the frame and control box on the inside or outside wall, square and level so the door doesn't bind.
- Place the solar panel where it gets direct sun for most of the day. A shaded panel is the most common cause of problems.
- Set the mode and test it a few times while you watch, including the obstruction stop.
What actually changed
The biggest difference was mental. No more racing home before dusk or walking out with a flashlight to check the latch. The door simply did its job every evening, and the flock adjusted within the first week.
The things to plan around are the ones in our "keep in mind" list: give the panel real sun, and make sure your coop wall has room for the frame. Get those two right and it's about as close to set-and-forget as coop gear gets.
Questions readers ask
What if a hen is still outside when it closes?
On light-sensor mode the door closes after dusk, by which time most flocks have gone in to roost. If you have a straggler, switch to timer mode and set closing a little later.
Will it trap or hurt a chicken in the doorway?
It's designed to stop when it meets an obstruction. Test this yourself after installing — gently, with something soft — so you know it works on your setup.
Does it work in winter?
Yes, as long as the panel gets enough direct sun to keep the battery charged. Clear snow off the panel and check the door track for ice after storms.
Do I still need to lock up at night?
The door replaces your nightly trip to close up. It's still worth a regular walk-around to check the run, fencing and the door track.
Bottom line
If you keep chickens and have a life, this is the upgrade to make first.
Check price on Amazon →Affiliate link · Prices change often — check the retailer for today's price.